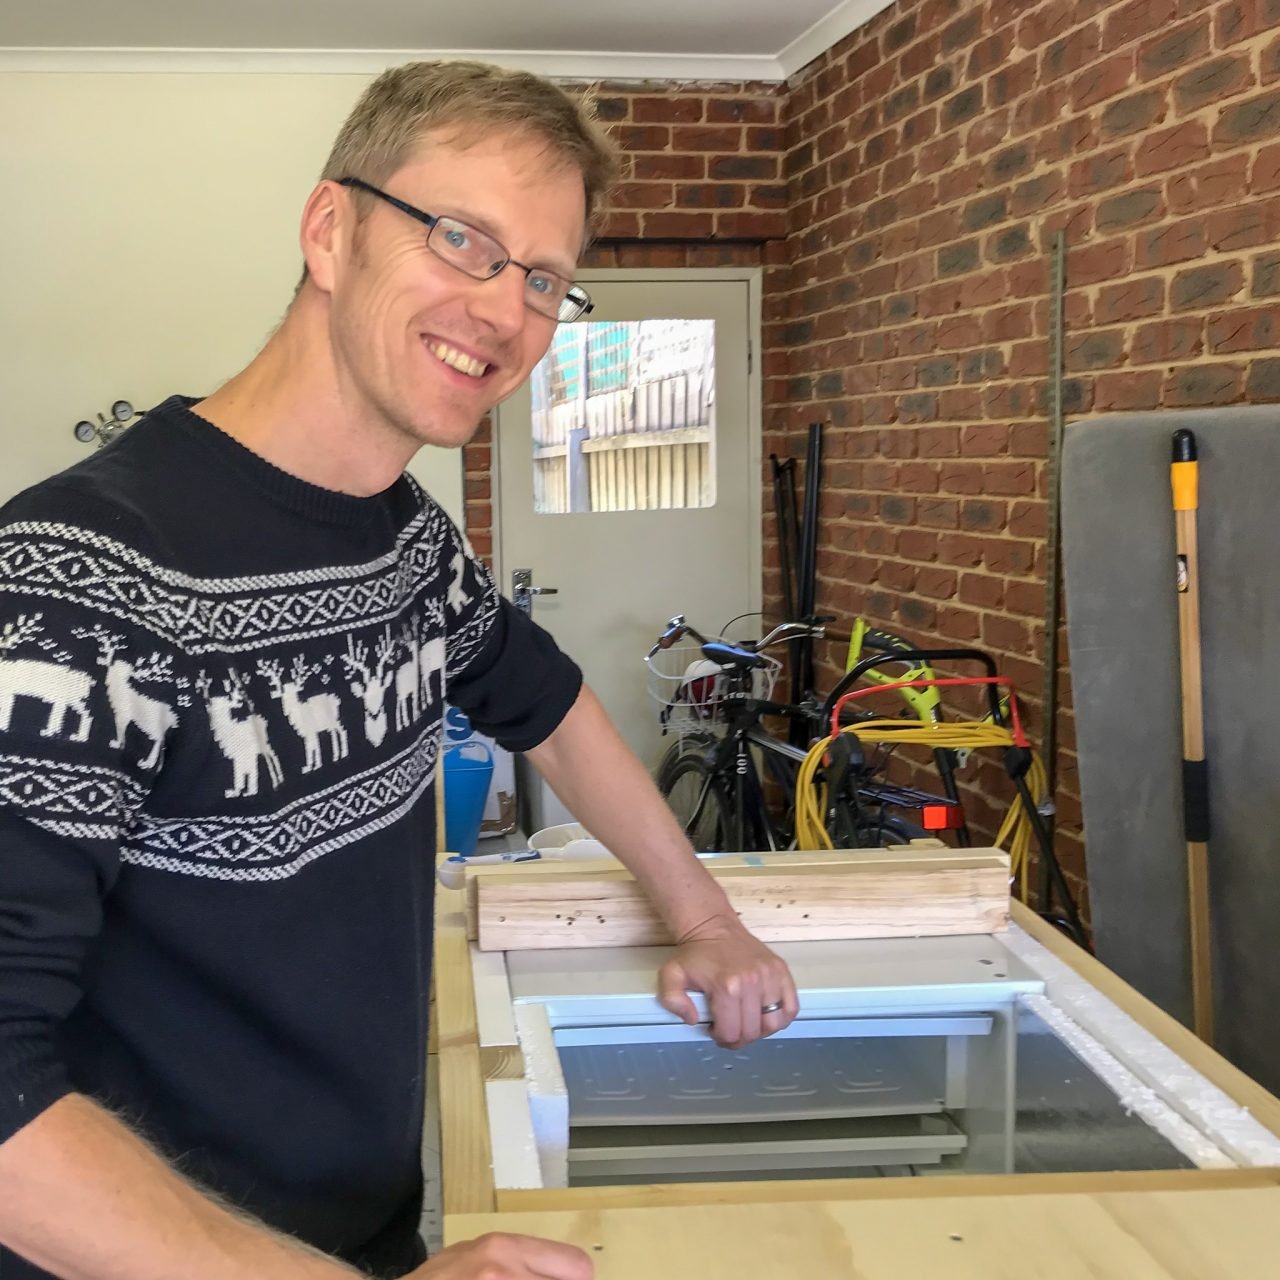
This post follows directly on from my previous one on building a fermentation chamber at home to control the temperature of my 2018 ferments at home.
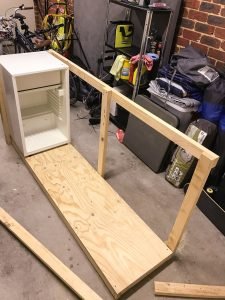
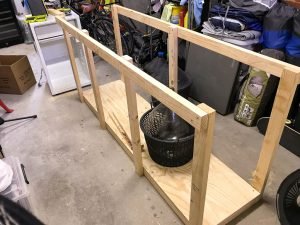
The next steps in the build involved adding the frame and first layer of insulation for the walls. The frame itself is a pretty simple thing, however getting everything square and straight without any clamps is almost impossible!
The posts on one side are at different intervals as I’m going to put the side door there. Remember I wanted to have side access to be able to easily lift the heavy fermenting tubs into the chamber.

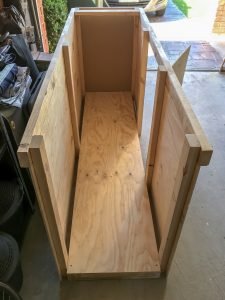
Once the frame was all together, it was time to start adding the walls. Once again I had to trim down a lot of the wood and worked pretty extensively with a rasp and sanding block to make everything match up. The fact that the frame wasnt quite square added a lot to my time here but I got there in the end.
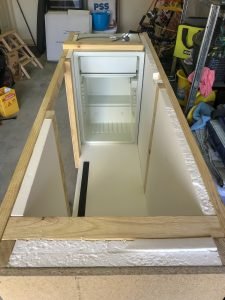
With all the walls on it was time to start adding in the insulation. As I said at the beginning, I wanted the chamber to run as efficitnely as possible so have designed it to have 2 layers of foam insulation. The first layer will slide in between the posts and the second layer will go on top of that to form the internal walls.
 Insulation
The insulation turned out to be one of the more challenging parts of the build. Mainly as most of the standard thicknesses are 30mm or 40mm and my frame is 35mm thick. I ended up having to get some sheets of extruded polystyrene made especially for the chamber. It wasnt too expensive but I had to hunt around to find a place that would make it specially for me.
Cutting and inserting the first layer of insulation was pretty easy to do but quite time consuming. A lesson learned here; Your wife’s best carving knife may be sharp, but it is not the same as a Stanley knife!
Sweet wheels!
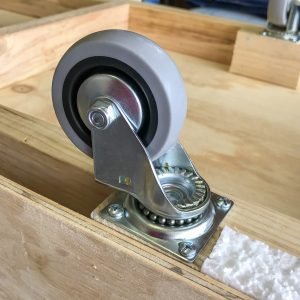
The chamber was taking shape really nicely now and I was getting a better picture of how the finished thing would look. It was getting significantly heavier though and much harder to manover as I worked on different parts so it was time to add some wheels. I added casters to the heavy bottom of the frame and we were mobile! This made moving the chamber so much easier I half wish I’d done it earlier but it would have been harder to get the walls on.
Insulation part 2
T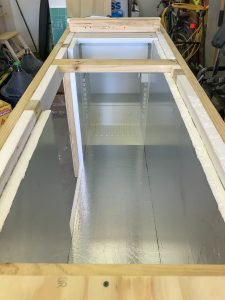 he second layer of insulation was next up. Again cutting this to size took time but it was relatively easy to do. One thing that came to mind was that if I were to do this again i would have made the chamber to be 1200mm rather than 1500mm. building materials all come in sizes around 1200mm x 2400mm so I’ve had to make a join towards one end of the chamber. I don’t think this should affect the function, but it added significant amount of time to the build.
The Lid
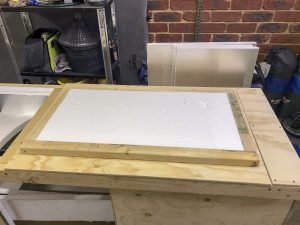
I built the lid and the door by measuring and building their frames to fit snugly in the space. Then I just screwed the lid/wall onto the frame whilst it was in place. That way I didn’t actually have to worry about the fact that the frame wasn’t quite square! One layer of insulation inside the frame and another one over the top of that meant that the lid fit perfectly.
The last stage of the build was to add the roof, a couple of locks for the door and fill any gaps and joins with No-more Gaps to ensure that it was as close to air tight as I could make it.
The finished result

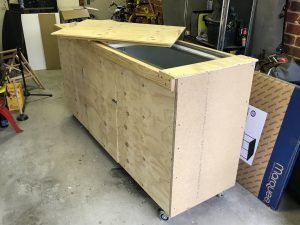 The finished chamber looks like this! The door gives me easy access to get things in and out and the lid makes it easy for me to take samples from the fermenters without losing all of the cold air. The fridge itself actally makes for good cool storage for finished wine and a bit of shelf space will come in handy for storing chemicals etc. that need to be kept cool.
The electrics

A normal fridge is made to keep things around 4 degrees C but I only want to cool the space to around 14 for fermenting wine. Many yeast stop fermenting if it gets much colder than this, and 14 is a good temperature to store wine as it ages too. To control the temperature there are lots of options. I went for a simple thermostat with a built in thermometer and would normally be used for controlling the temperature of a reptile tank at home. The progammable thermostat can be used to cool or warm a space depending on the settings. I’ve set it so the fridge chills the space to between 14 and 16 degrees C.
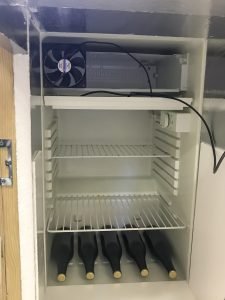 The final addition was a PC fan to ensure that air is moving around inside the chamber and the temperature is reasonably constant throughout the whole space. I got one with a USB connection to power it and an extension cable which was also plugged into the thermostat. That way when the fridge and the fan come on at the same time but the fan doesn’t run when the fridge isn’t on.
The big test
So the big test was to switch it on and see how it all works! I put some bulk wine and a few demijohns of water in the chamber to ensure a good test and turned it all on. It took around 2 hours to get from 22 degrees down to 14 and I left it overnight with a plug in electricity meter to measure how much it will cost to run. I was surprised and very pleased to see that once it was at temperature, over a 24 hour period it actually uses less electricity than our wine fridge!
The numbers
I’ll be honest, I dont have an exact number for how much the Beast of Yeast (named by Laura, thanks!) cost to build but here’s a rundown of the main costs.
- Timber for frame – $60
- Plywood for walls – $125
- Insulation – $114
- Casters – $77
- Thermostat and PC Fan – $50
- No more nails / Gaps – $30
- Perfierals (Screws, Handles, Duct tape etc.) – $65
- PVC Foam sheets for inside floor/walls – $70
- Total – $591
Thats a bit more than I had originally planned to spend on this project but if I did it again I reckon I could cut that down significantly by making the chamber slightly shorter.
I’m now really looking forward to the 2018 vintage and am in the process of trying to source some Pinot noir, Shiraz, and Chardonnay grapes. I have also enrolled in the Wine making 1 course at Latrobe so should have plenty to write about when the grapes start coming in! The proof, as they say, will be in the tasting. Unfortunately for you dear reader, the wine wont be ready for you to try until at least the end of the year but I look forward to sharing some with you.

